THE IMPORTANCE OF CLEANLINESS STANDARDS
Cleanliness requirements in manufacturing processes must be clearly defined, as a dirty part will considerably affect downstream processes. Failure to comply with cleanliness standards will have adverse effects on vehicle systems from transmissions and brakes to fuel delivery and engines. Even small amounts of contaminants can lead to a loss of efficiency or system failure.
ANALYSIS OF SOLID CONTAMINANTS
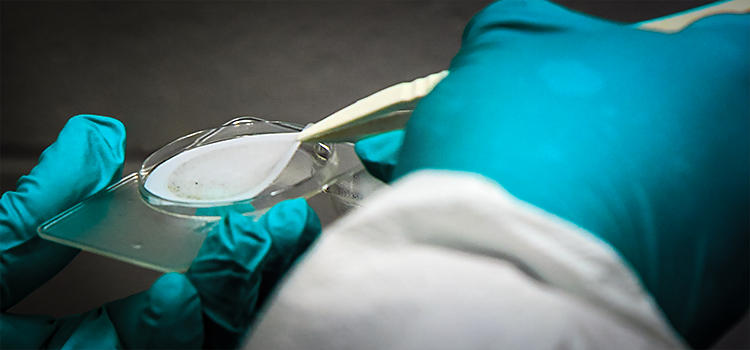
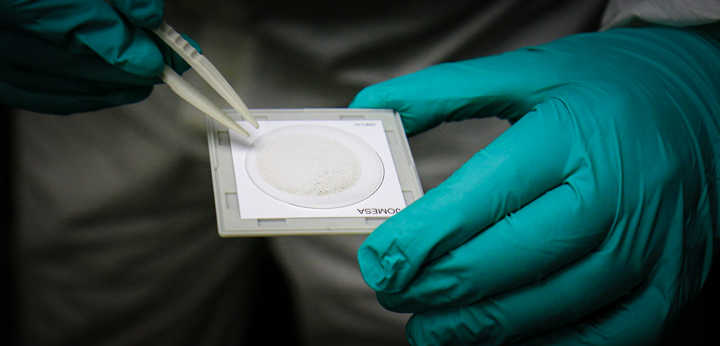
A variety of tests are used to determine part cleanliness. Typically, a cleaned part is flushed down manually with a liquid to remove any remaining contaminants from the part’s surface. The liquid is collected and then passed through a filter membrane. The filter traps particles, which can then be analyzed to determine the component's cleanliness.
GRAVIMETRIC
A gravimetric test determines the weight of contaminants on a part. A clean filter is weighed before to establish a baseline. The dirty filter is then dried and weighed again. The difference in weight represents the weight of the contaminants.
PARTICLE SIZE
The filter is analyzed under a microscope to determine the number of particles that exceed the limits. This method is time-consuming and prone to human error.
CCC CODING ISO 16232
The CCC, or component cleanliness code, classifies particle size distribution per the ISO 16232 standard.
CCC = A (B-F20/G-H10/I-M2)
In the above example, “A” can be an area, volume, or the total number of components in the lot to be tested. The letters B through M represent the particle size range. The numbers represent a cleanliness level, which refers to the allowable number of particles.
AUTOMATIC PARTICLE COUNT
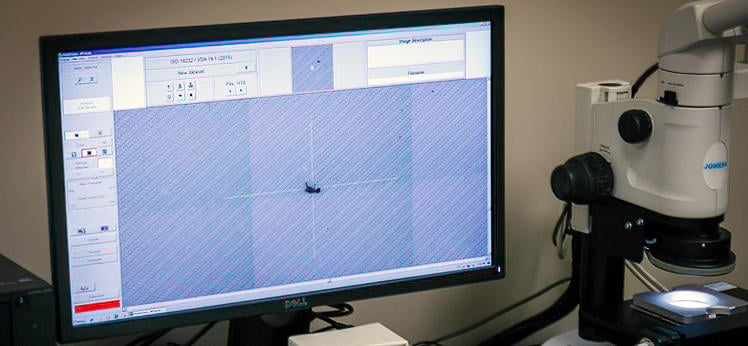
Automated, microscopic particle counting machines record the size and number of particles as it scans the filter's surface. Following this, a report is generated indicating the particle size distribution and number as well as the ISO 16232 component cleanliness code.
Custom algorithms differentiate between ferrous and non-ferrous particles as well as fibers. However, this system cannot determine the elemental composition of the contaminants.
SEM (SCANNING ELECTRON MICROSCOPE)
An SEM takes the above process a step further by characterizing the elemental characteristics of the contaminants. Typically, the SEM is used to detect abrasives such as aluminum oxides, carbides, silica, and ceramic particles, which can be detrimental to transmission even if the particles are small and few in number.
CONTAMINANT EXTRACTION METHOD
The contaminant extraction method will differ depending on the type of part tested and cleanliness test or inspection required. In general, pressure rinsing is used for components with simple geometry and few internal cavities. Part immersion, agitation, and ultrasonic bath may also be used for more complex parts. The test liquid is passed through a filter in all situations, and the filter is then analyzed.
PRESSURE RINSING
Parts are sprayed with a test liquid to flush off residual contaminants from surfaces and easily accessible orifices. Many parameters, including test liquid, pressure, volume, and type of spray nozzle may influence this technique's effectiveness. These parameters are reported as part of the test results.
ULTRASONIC
The part is immersed in an ultrasonic bath and cleaned for a pre-determined amount of time. The ultrasonic energy releases contaminants from the part surface. As the part is removed from the bath, it must be rinsed to collect any remaining particles.
INTERNAL RINSING (TEST BENCH)
A custom-built test bench is used to test complex parts with intricate passages. This system may incorporate part flushing and rotation to extract all contaminants properly.
ANALYSIS OF SURFACE CLEANLINESS
Non-visible surface residues may interfere with subsequent processes such as bonding of gaskets, painting, and plating. Several tests exist to determine if a part's surface is free from oils used in the manufacturing process.
WATER BREAK TEST
This simple test allows the detection of oily residues on a part surface. Water is used to wet the surface of a clean part; if the water remains in a sheet and does not bead within a few seconds, it is clean. If the water beads, this is an indication that there is an oily residue on the part surface.
DYNE TEST
Dyne pens use specially formulated inks to determine if a part's surface is clean enough to provide optimum adhesion of coatings and sealants. The ink is applied to the component's surface and forms a continuous film on the surface or beads into small droplets. If the ink beads in less than a second, this indicates the part surface is not clean enough.
The surface finish may influence this test. The ink beads easily on a polished surface even though the part may be clean. For this reason, it is critical to properly select a dyne level that is compatible with the surface finish.
CONSIDERATIONS TO ACHIEVE CLEANLINESS RESULTS
The parts washer plays a critical role in achieving stringent contaminant specifications. Properly designed washers incorporate filtration, oil removal, and solution monitoring systems to ensure the desired cleanliness results. However, to maintain cleanliness levels, the parts must exist in a clean environment with minimal airborne contaminants.
Operators handling components must wear plastic gloves and clothing that will not generate fibers or other non-metallic contaminants. Parts must be immediately packaged in plastic bags to eliminate possible contamination.
In the case of very tight cleanliness specifications, the components should exit the washer into a cleanroom.


